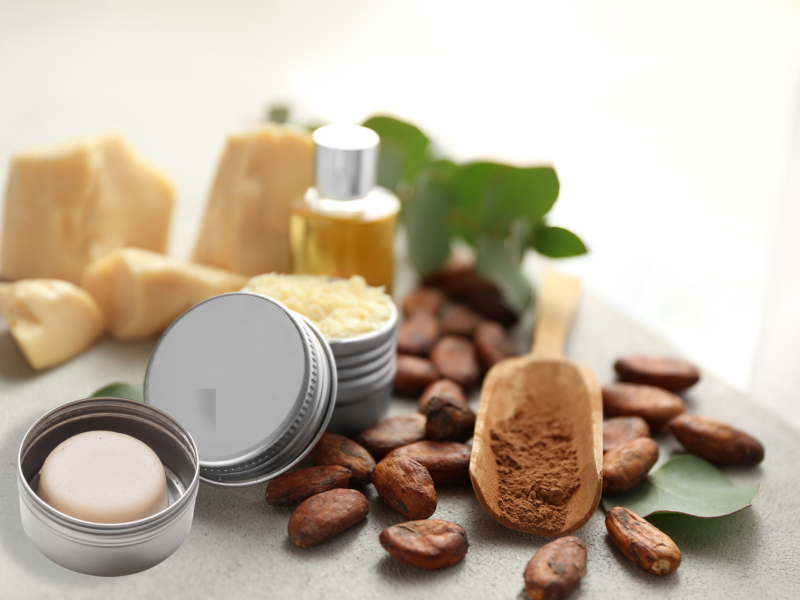
When it comes to skincare, natural is always better – and what could be better than pampering your skin with your own handmade lotion bars? These solid bars are a mess-free, convenient alternative to traditional lotions and provide deep hydration and nourishment. Plus, they’re incredibly easy to make! In this blog, we’ll share an easy-to-follow DIY lotion bar recipe featuring premium ingredients from Holistic Emporium.
Why Lotion Bars?
Lotion bars are a fantastic addition to any skincare routine. They:
- Provide intense hydration: Beeswax, coconut oil, and butters form a protective barrier that locks in moisture.
- Are chemical-free: Made with 100% natural, skin-loving ingredients.
- Are portable and spill-proof: Ideal for travel or everyday use.
- Make thoughtful gifts: Handmade skincare is a beautiful way to show someone you care.
With just a few simple ingredients, you can craft your own luxurious lotion bars tailored to your preferences.
DIY Lotion Bar Recipe
Ingredients You’ll Need (available at Holistic Emporium)
- 1/3 cup Beeswax Replica pellets (white or yellow) – Adds structure and seals in moisture.
- 1/4 cup Coconut oil – Softens and nourishes the skin.
- 1/4 cup Cocoa butter or Shea butter – Deeply hydrates and rejuvenates.
- 1 teaspoon Vitamin E oil – A natural preservative that supports skin health.
- 8-10 drops Essential oil – Choose your favourite scent, such as lavender, lemongrass, or rose geranium.
- 2 teaspoons Mica powder (optional) – For a touch of natural colour.
Step-by-Step Method
- Melt the Base Ingredients
- Combine the beeswax, coconut oil, and cocoa butter or shea butter in a double boiler.
- Heat gently, stirring occasionally, until the mixture is fully melted and smooth.
- Add the Extras
- Remove the mixture from the heat.
- Stir in Vitamin E oil, your chosen essential oil, and mica powder (if using). Mix well to ensure everything is evenly distributed.
- Pour Into Moulds
- Carefully pour the liquid mixture into moulds. Silicone moulds, muffin tins lined with parchment paper, or even ice cube trays work wonderfully.
- Fill each mould to the desired level, ensuring an even distribution.
- Let Them Set
- Allow the lotion bars to cool and harden at room temperature for 20 minutes to 1 hour.
- Once fully set, gently pop them out of the moulds.
How to Use Lotion Bars
Using lotion bars is simple! Warm the bar between your hands or glide it directly onto dry areas like elbows, knees, or hands. The heat from your skin will gently melt the bar, releasing its moisturising benefits.
Customisation Ideas
Lotion bars are wonderfully versatile. Here are some ways to make yours extra special:
- Scents for every mood: Lavender for relaxation, peppermint for an invigorating boost, or lemongrass for an uplifting aroma.
- Add a splash of colour: Use mica powders to create vibrant bars that are as lovely as they are effective.
- Experiment with different butters: Mango butter for a lighter feel or cocoa butter for a richer, more luxurious texture.
Why Choose Holistic Emporium?
At Holistic Emporium, we pride ourselves on offering high-quality, natural ingredients for all your DIY beauty needs. From Vegan beeswax to luxurious essential oils, we provide everything you need to create skincare that’s not only effective but also eco-friendly.
Give It a Go!
Ready to start your DIY skincare journey? This lotion bar recipe is just the beginning. Whether you’re treating yourself or making gifts for loved ones, these lotion bars are sure to impress.
Visit Holistic Emporium to stock up on ingredients and supplies. Start crafting today and let your skin soak in the natural goodness! 🌿✨